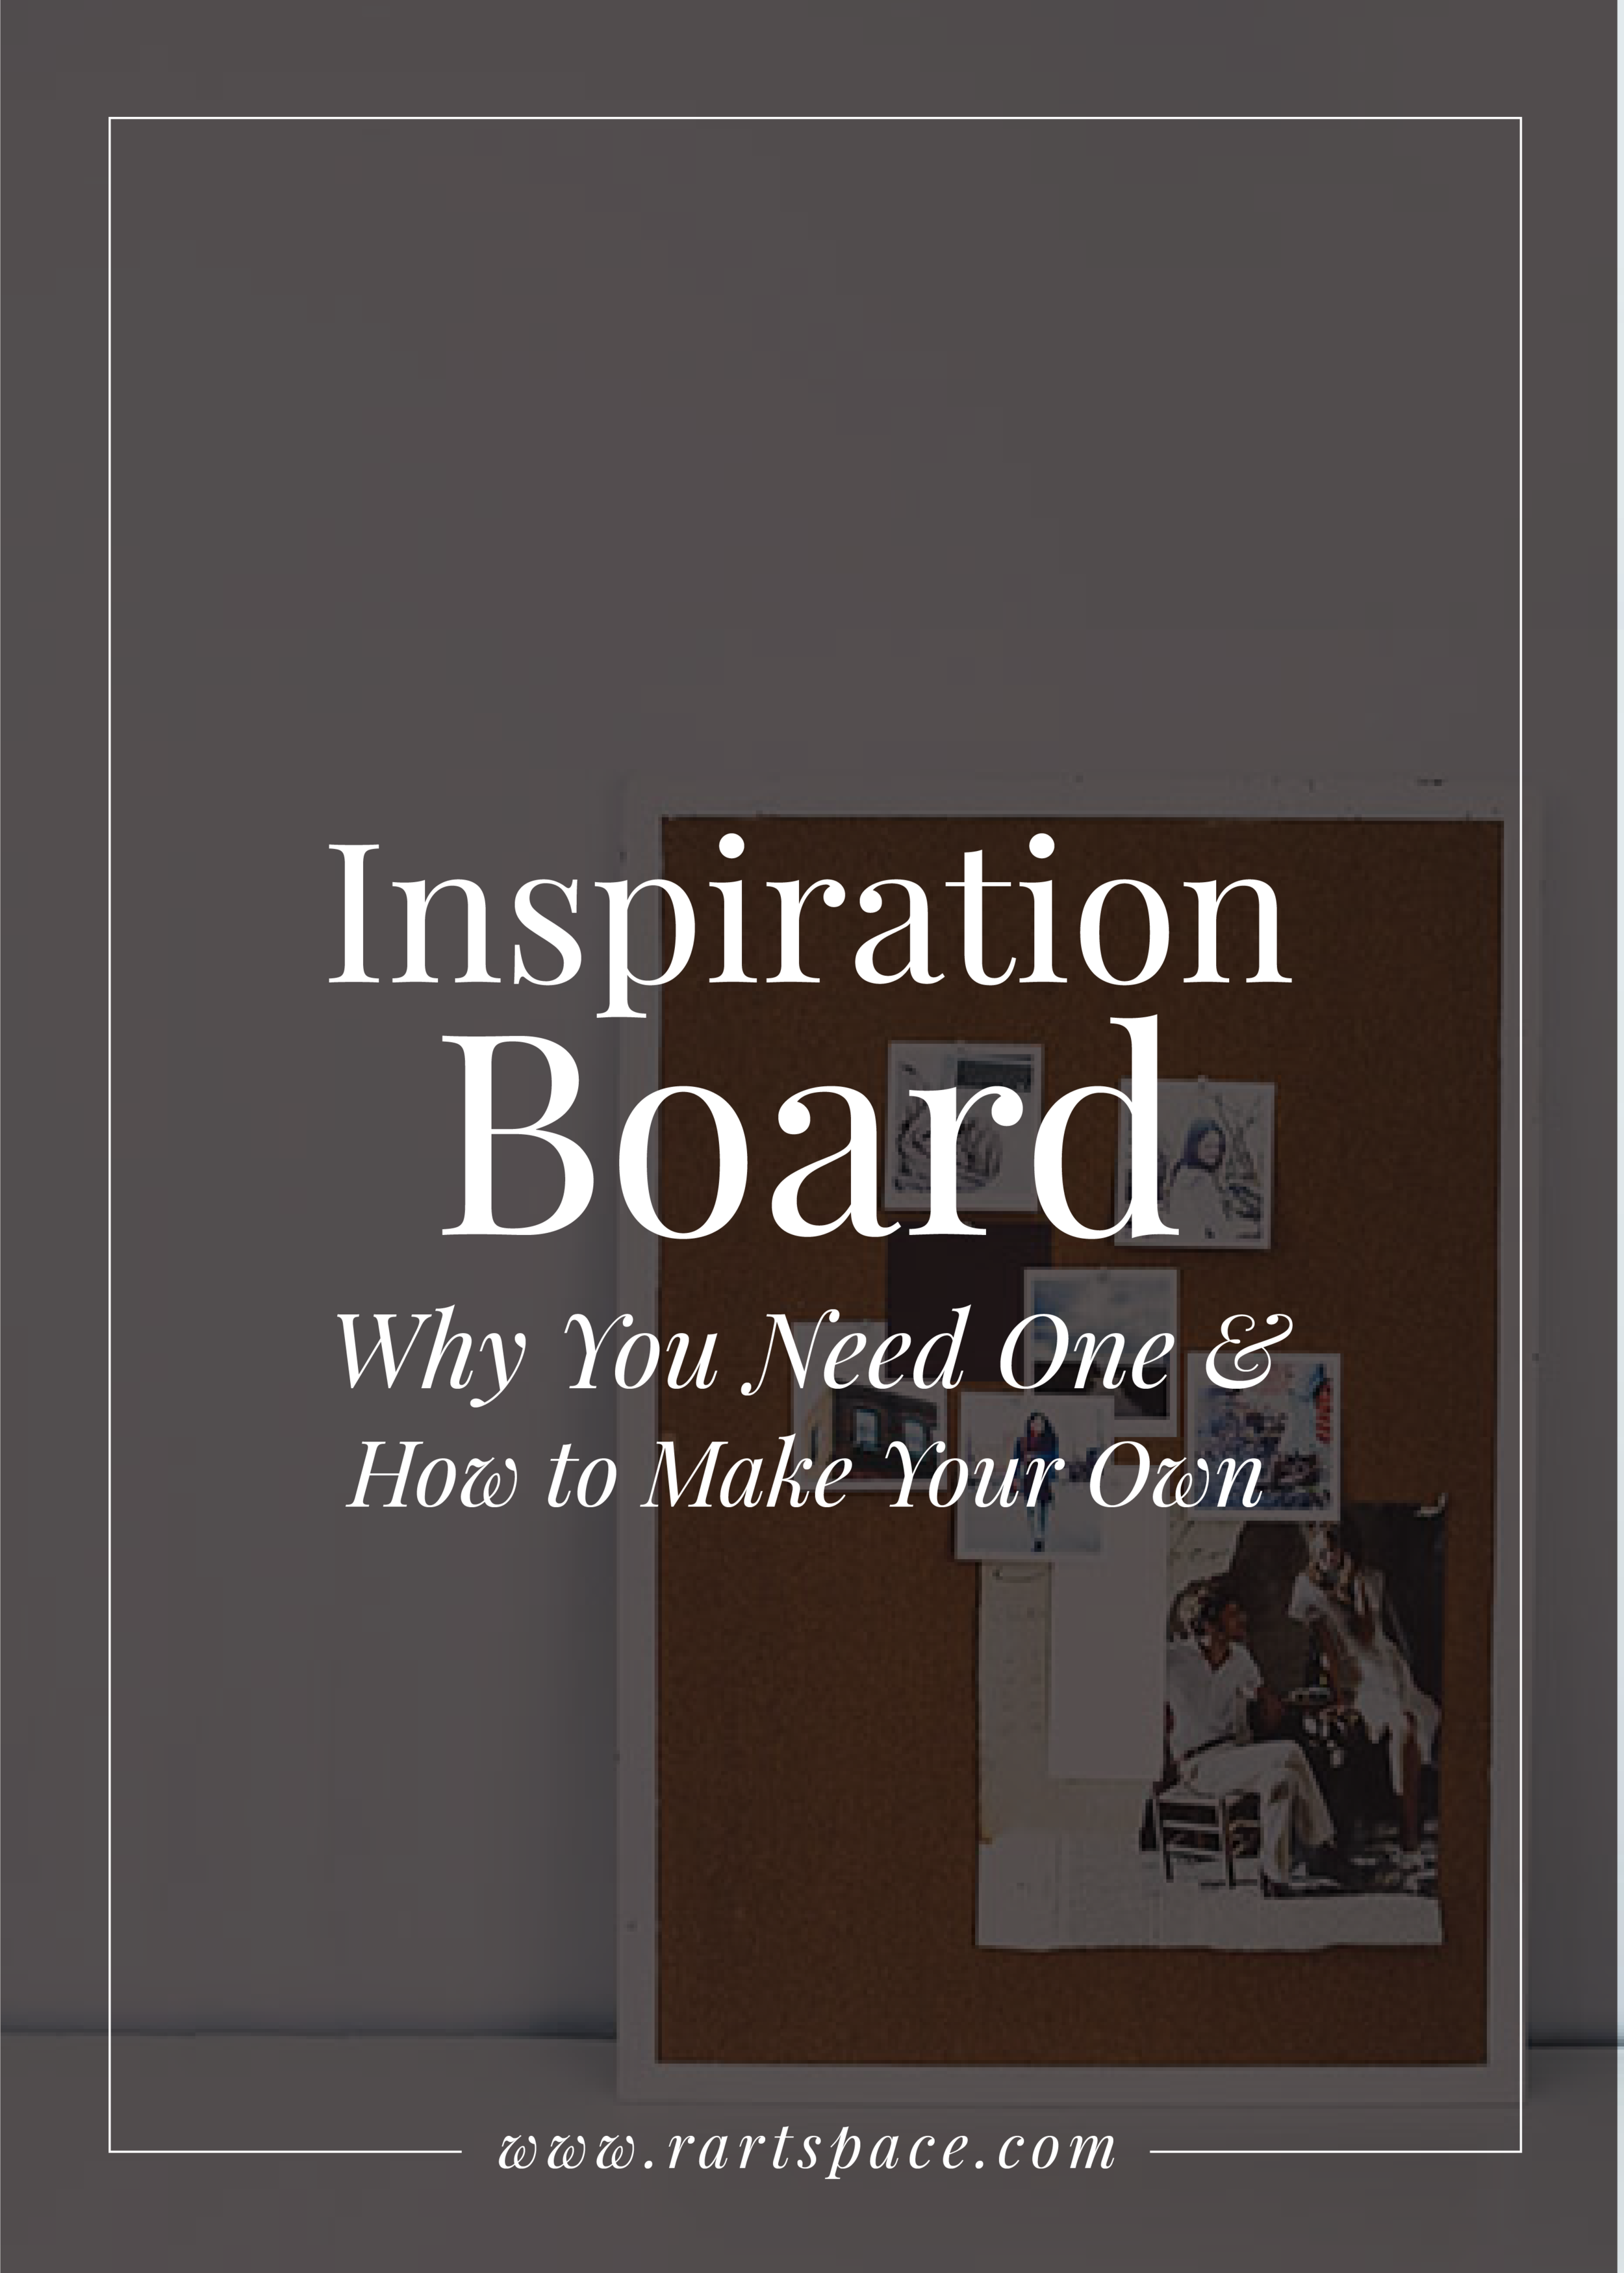
Inspiration Board: Why You Need One & How to Make Your Own
I'm sure you've seen inspiration boards before. Aren't they fun to look at?
Honestly, seeing graphic designers and brand stylists put together inspiration boards was one of the reasons I pursued branding in the first place. It looks so fun and easy, doesn't it? But, just like anything else, it may not be as easy as you think.
Branding is more than pretty pictures, it's about strategy and how to communicate the right message to your ideal audience. So how does that play into creating an inspiration board?
The reason why myself and so many other brand designers start off with this step is because it helps the client and designer get on the same page with what the client wants, in terms of photography style, color trends, and mood as a foundation for their brand.
The point of an inspiration board is to create a direction for your brand in the use of color and style.
Creating an inspiration board for your brand helps you find out which styles you're drawn to and as you find inspiration in your choices you can see a direction for your brand and build upon that to create a meaningful, cohesive, and strategic brand. So let's get started.
1. It starts with inspiration
The easiest way to create an inspiration board is through Pinterest. Make a new board that is dedicated to what you want your business to look like, represent, and feel.
I start off doing a search with adjectives, so immediately it can take me to a feel or look I'm going for. In this blog post I'm creating a moody and romantic inspiration board that is feminine, sophisticated yet friendly, classy, and thoughtful.
So in the search bar I put in "moody styled shoot" and you can take a look at what comes up.

As you're pinning away, it's important to not think too much about what you're pinning or if they go together.
The point is to pin things you're drawn to for your brand.
If your brand is a bit mysterious, dark, and trendy, search out those things. And same if your brand is light, airy, friendly... do a search for those key words.
2. Make your board
Create a board that is specifically for your business. I named mine ME biz and I made it private so I'm the only one who can see it.
Again, don't get hung up on too much at this point when you're pinning. Pin everything you're drawn to for your brand.

To get a brand with depth, try to pin a variety of things.
I go through categories starting with Women's Fashion. I move to Home Decor, or Home Office, then I go to Typography, and Patterns / Textures, and continue on til I've gone through at least 5 categories.
It's good to get a well rounded feel and look so that you have a bird's eye view of your brand and it's style.
3. Choose a template
I've found that creating your board is best done in Illustrator.
You can start off with a template (meaning, make your own) where you have boundaries of where pictures and colors will go, or you can start off with a blank slate.
Having a template gives you more structure and direction, but I prefer a blank slate.
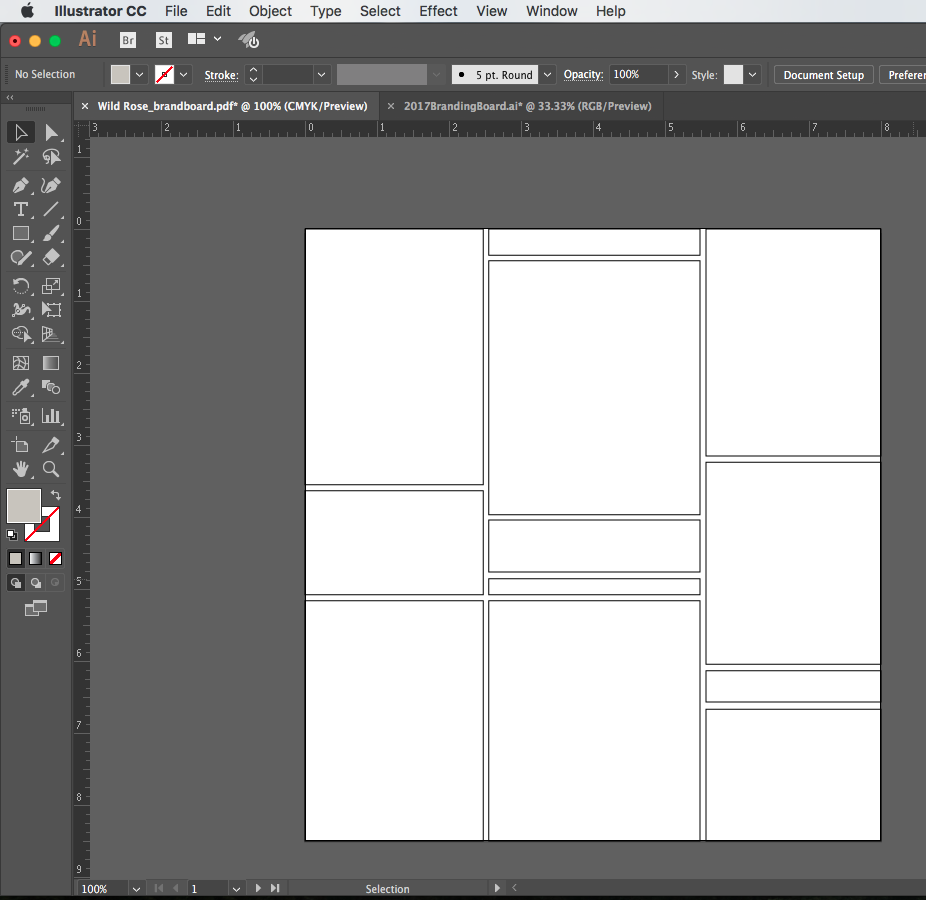
Working on a blank slate is kind of like drawing in a notebook with no lines. I feel like it frees up my imagination.
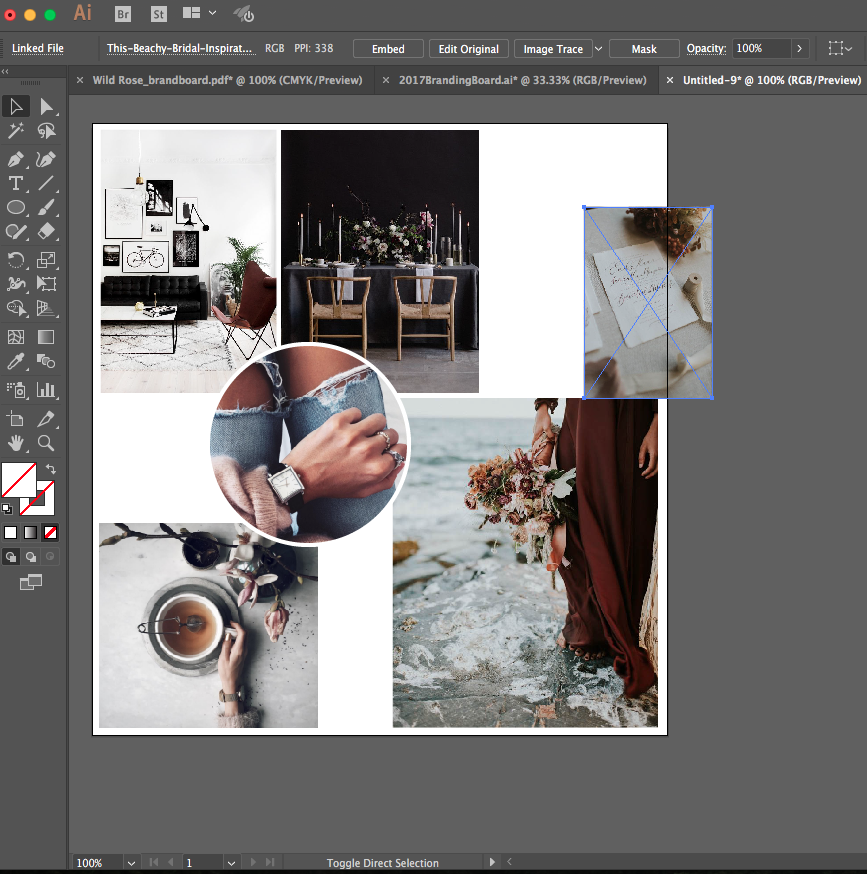
4. Arrange
Now this is the fun part. Creating your board is a bunch of arranging and rearranging. It's super fun but can also be a time suck. So keep that in mind ;)
When you're arranging your board the important thing to keep in mind is balance and composition.
You want the colors to be balanced and the composition to have a look that is easy on the eyes and one that looks effortless.
At this point, when you're choosing what pictures to add, think through why you're adding each one.
You can write a brief description in a Google doc. or in Pages that gives you a reason for why you're adding it. I find this helpful so that maybe down the line when you're questioning your brand style you can look back and remember why you made decisions you did in the beginning.
And it's important to remember that these photos you're putting together will represent your business in terms of look, feel, and style. Make decisions based on that information, rather than if it's pretty or not.
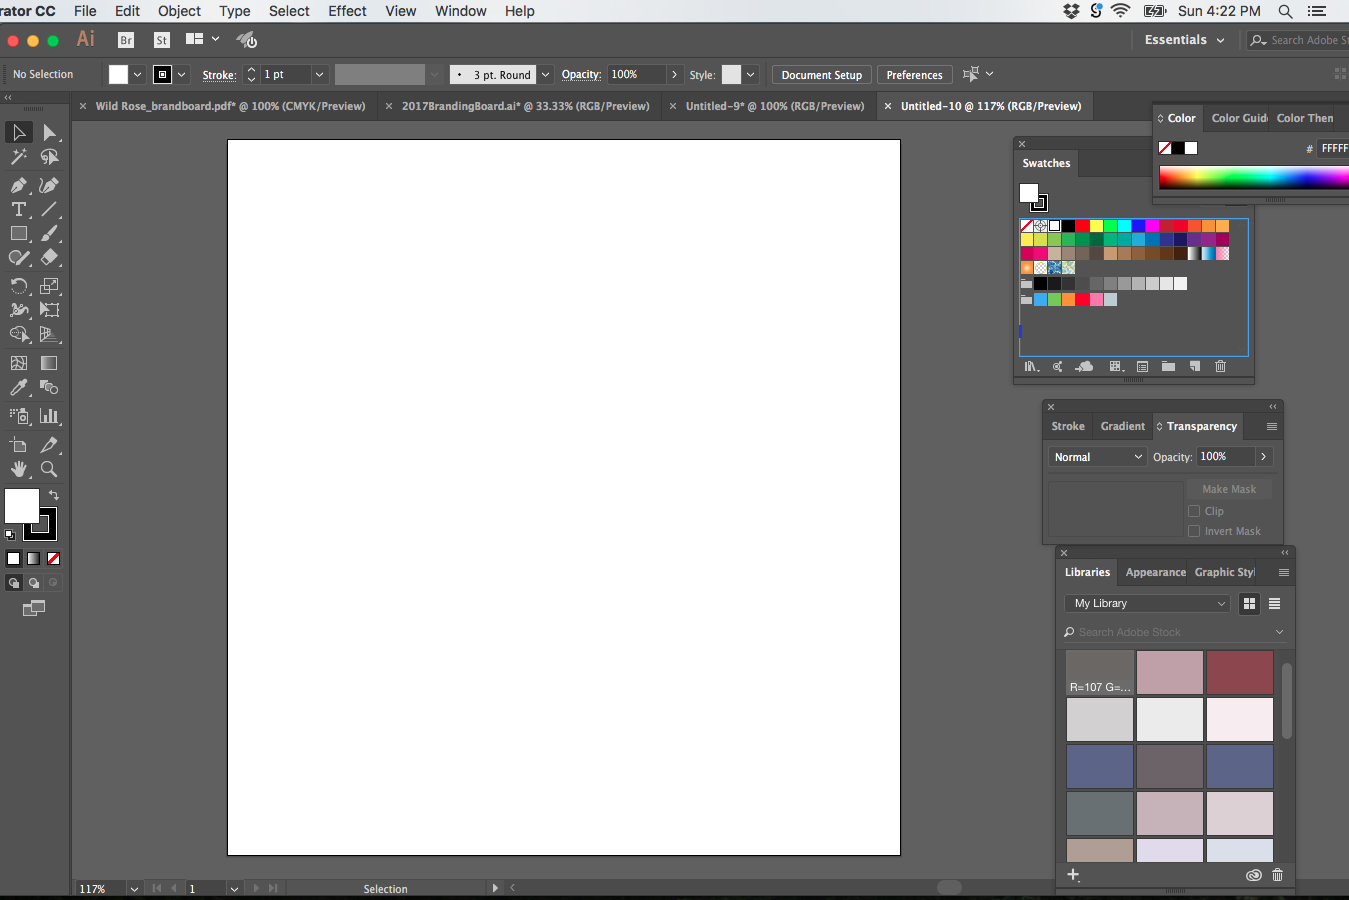
5. Choose colors
When you have a good arrangement, it's now time to add in color.
The way to do this is to take your eye-dropper in Illustrator and go through each photo and choose the colors that best represent your brand.
This has a lot to do with style and feel and also your target audience. If your target audience is children, keep the colors bright and eye-catching. If your target audience is a more high end fashionable crowd, perhaps a mostly neutral palette with a pop of a deep rich color would work best.
I talk in detail about the psychology of color and how it affects the decisions of your target audience in this post.
Another point about choosing colors is you want to stick to about 6 or 7 colors in your color palette as the foundation but then choose 2-3 to be your main colors.
This helps people recognize and identify with your brand faster.
6. Finishing doesn't mean you're done
Your brand evolves as your work grows. This is both a good thing and bad thing.
But the key is to make sure you have a foundation that you can grow into.
What that means is don't box yourself in with a very limited color palette that you like right now because it's trendy.
If you're having trouble deciding on a color palette, I recommend going with something more neutral so you can grow into it down the line.
But the nice thing about having an inspiration board is that you can go back and look at what you chose as your foundation and strive to create a brand that resonates with your audience.
It's not so much as creating a pretty collage, it's about creating an atmosphere and mood, a style and lifestyle that your audience both relates with and wants.

Photo credits: dark room // girl with tea // girl with watch // red dress and flowers // white space room // wedding invitation
I would love to hear what you think about the process of creating your own inspiration board.
Have you created your own inspiration board?
Which step is the most challenging for you?
Which step is the most fun?